


![Dell]() Dell Latitude 3510 15.6" Laptop i5-10210U Windows 11 Pro
Dell Latitude 3510 15.6" Laptop i5-10210U Windows 11 Pro
Screen Size: 15.6" Max Resolution: (1920 x 1080) FHD...
From $353.98
$593.99

HP EliteDisplay E231i 23" FHD Widescreen IPS LED LCD Monitor
Screen Size: 23" Max Resolution: 1920 x 1080 (FHD) Aspect...
From $57.99
$84.99

Lenovo ThinkPad P15s Gen 1 15.6" Touchscreen Laptop i7-10510U Windows 11
Screen Size: 15.6" Max Resolution: 1920 x 1080 (FHD)...
From $599.99
$827.99

![Dell]() Dell Latitude 5420 14" Laptop i5-1145G7 Windows 11
Dell Latitude 5420 14" Laptop i5-1145G7 Windows 11
Screen Size: 14" Max Resolution: HD (1366 x 768)...

BenQ GW2480 23.8" LCD Dual Monitor Setup - Grade A
Screen Size: 23.8" Max Resolution: 1920 x 1080 (FHD)...
$185.00

![Dell]() Dell Inspiron 7380 13.3" Laptop i5-8265u - Windows 11
Dell Inspiron 7380 13.3" Laptop i5-8265u - Windows 11
Screen Size: 13.3" Max Resolution: 1920 x 1080 (FHD)...
")
ShoreTel 480G IP Gigabit Display Phone (IP480G)
Phone Type: VoIP Lines: 8 Connection: Gigabit Ethernet...
From $48.98

![Dell]() Dell Latitude 7290 12.5" Laptop i7-8650U Windows 11 Pro
Dell Latitude 7290 12.5" Laptop i7-8650U Windows 11 Pro
Screen Size: 12.5" Max Resolution: 1366 x 768 (HD)...
From $277.98
$438.99

HP Elitebook x360 1030 G3 13.3" 2-in-1 Touchscreen Laptop i5-8350U Windows 11
Screen Size: 13.3" Max Resolution: Touchscreen FHD (1920 x...
From $339.97
$682.99

![Dell]() Dell OptiPlex 7460 24" AiO Computer i5-8500 Windows 11 Pro
Dell OptiPlex 7460 24" AiO Computer i5-8500 Windows 11 Pro
Processor: Intel i5-8500 3.00GHz Memory: 8GB DDR4...
From $296.99
$685.99
")
Polycom SoundStation IP 6000 Conference VoIP Phone (2200-15600-001)
Phone Type: IP Conference Phone Lines: - Connection:...
From $59.99
$599.99

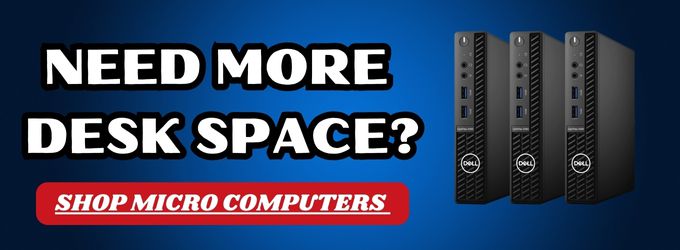
![Dell]() Dell OptiPlex 3070 Micro Computer i5-9500T Windows 11 Pro
Dell OptiPlex 3070 Micro Computer i5-9500T Windows 11 Pro
Processor: Intel i5-9500T 2.2GHz Memory: 8GB DDR4...
From $289.99
$375.99


